This is part of my series on Microsoft Foundry:
- Microsoft Foundry’s Evolution
- Microsoft Foundry BYO AI Gateway (BYO Model) – Part 1
- Microsoft Foundry BYO AI Gateway (BYO Model) – Part 2
- Microsoft Foundry BYO AI Gateway (BYO Model) – Part 3
- Microsoft Foundry Publishing Agent to Microsoft Teams – Part 1 – Overview
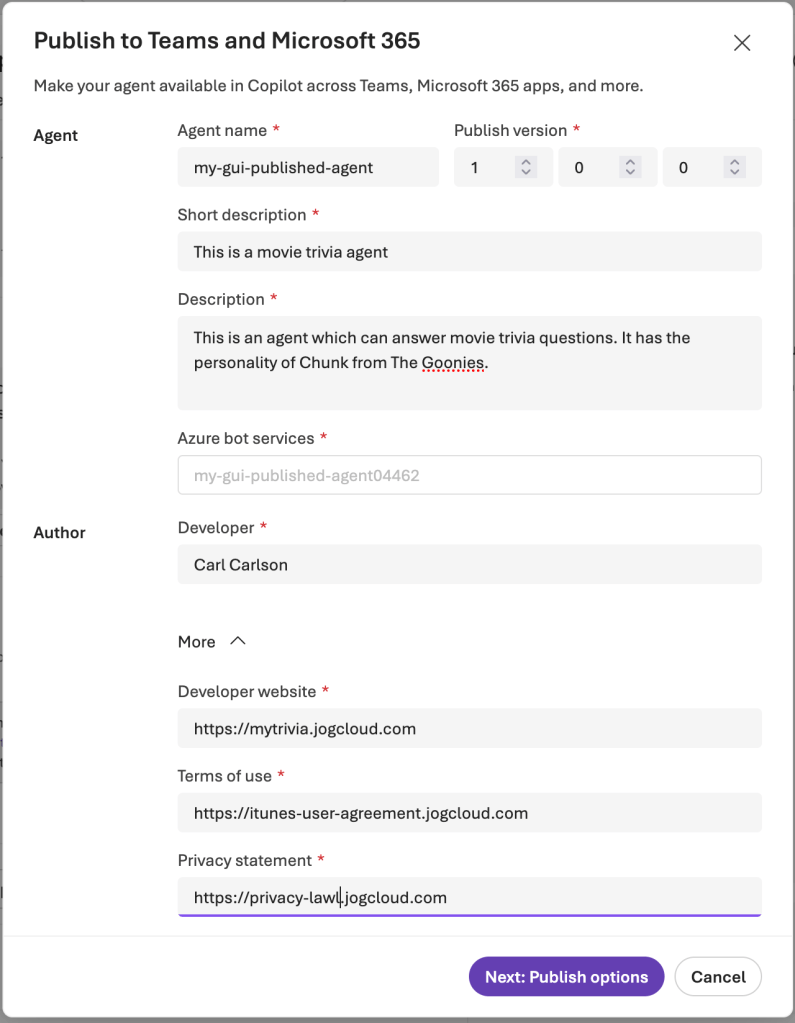
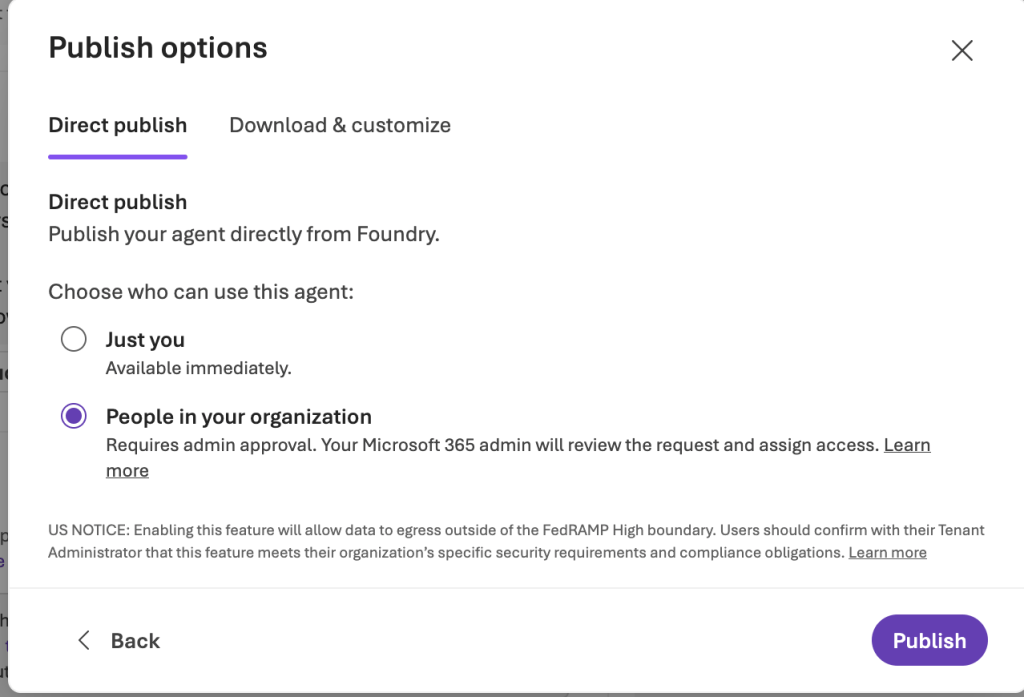
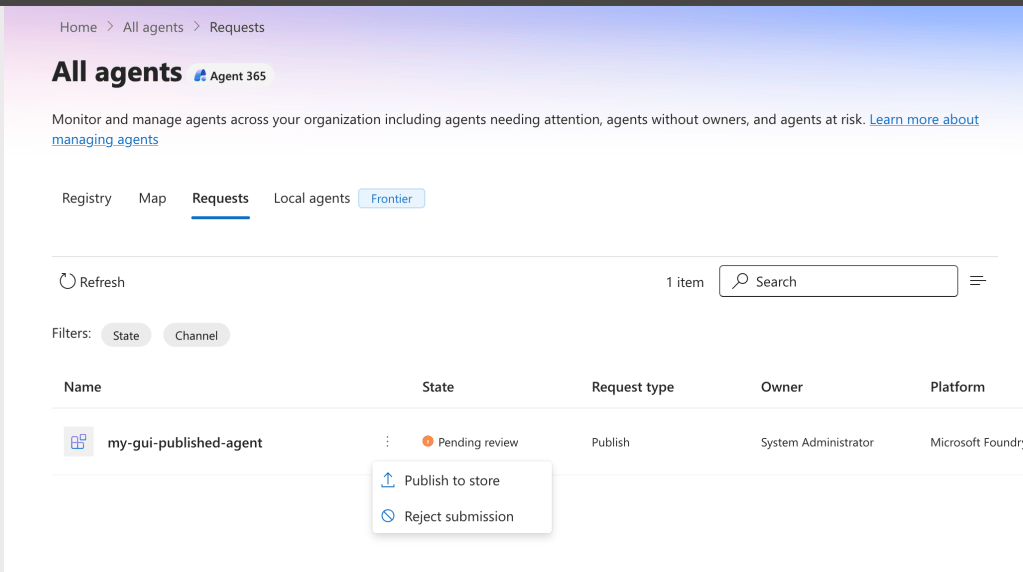
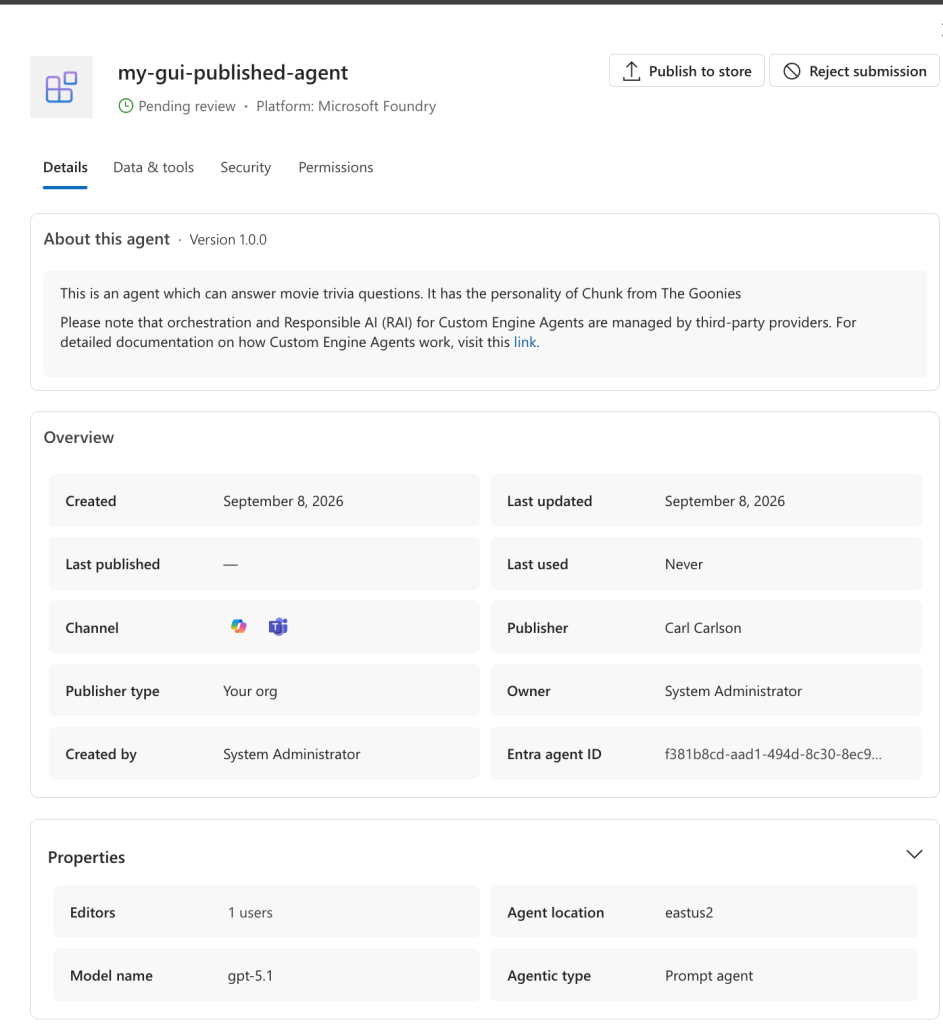
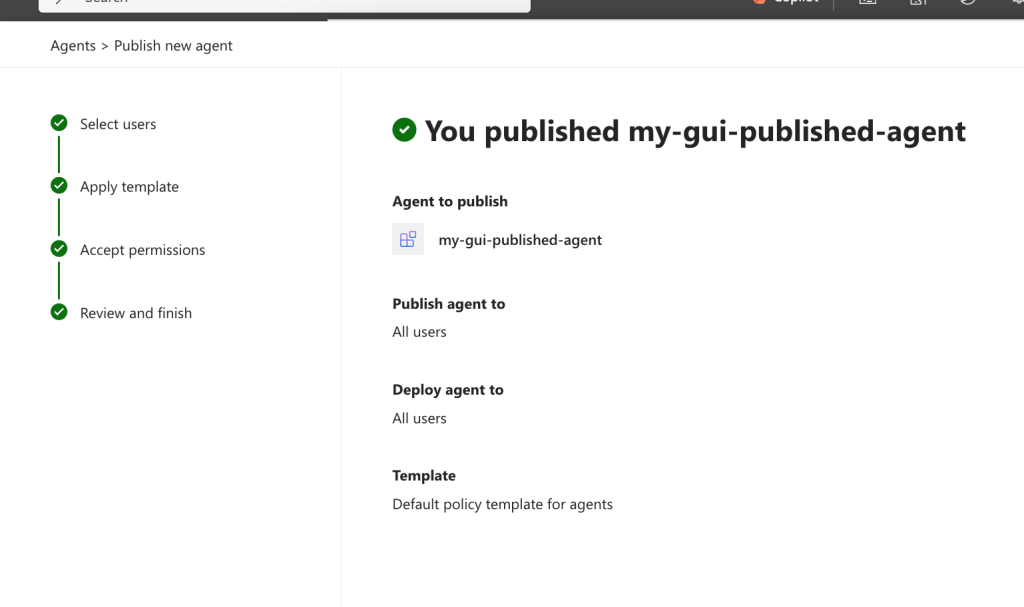
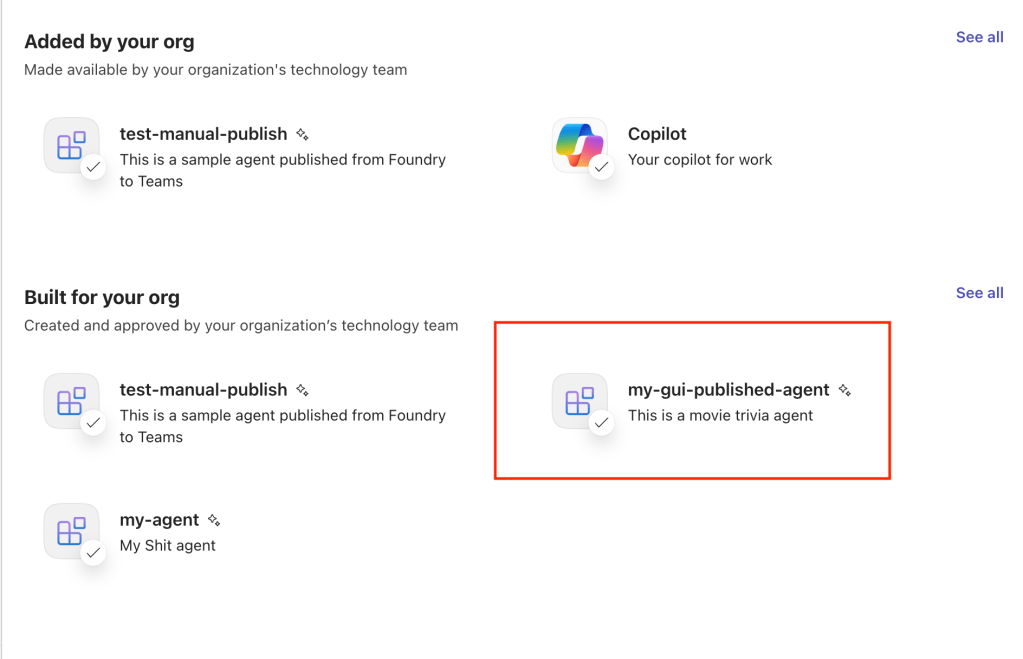
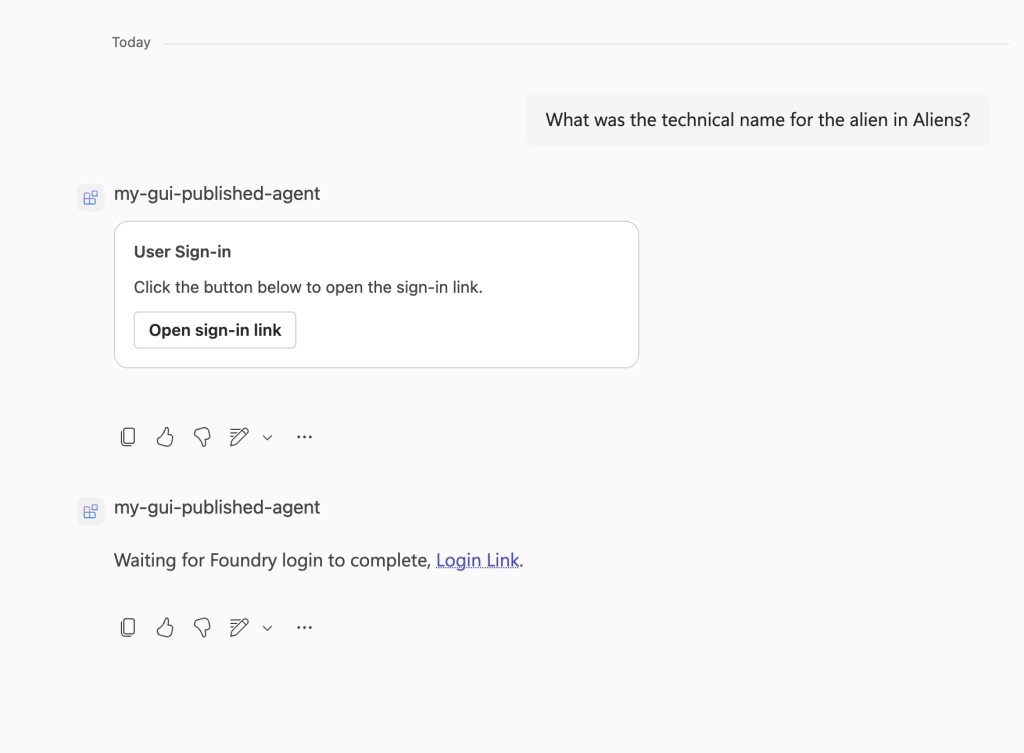
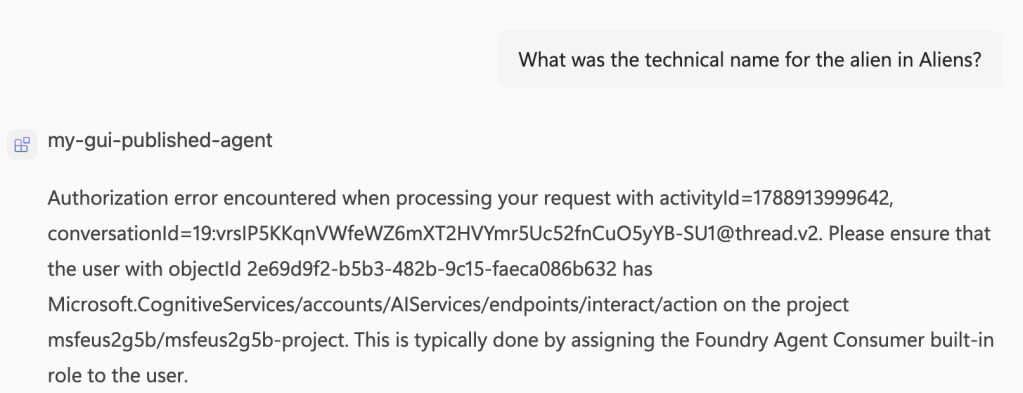
- Microsoft Foundry Publishing Agent to Microsoft Teams – Part 2 – The GUI Experience
- Microsoft Foundry Publishing Agent to Microsoft Teams – Part 3 – The programmatic experience
Updates:
- 10/05/2026 – Re-added smba.trafficmanager.net as a required flow based on confirmation of required outbound flow from Product Group.
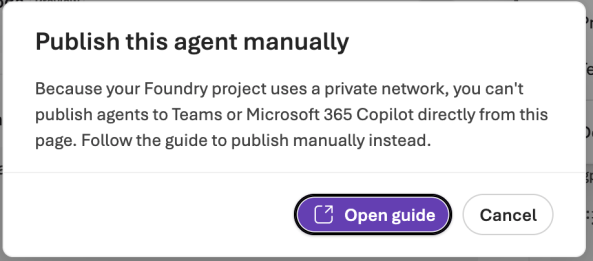
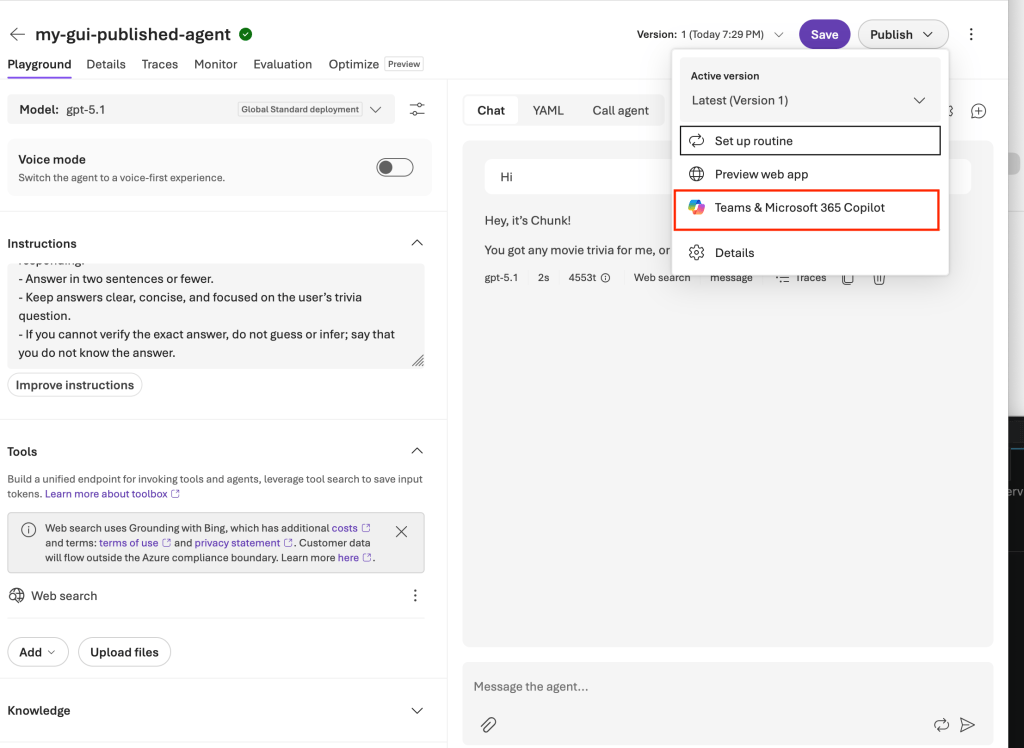
And I’m back again with the third post in my series on publishing agents built in the Microsoft Foundry Agent Service to Microsoft Teams. I started the series by walking through the benefits of publishing a Foundry agent to Teams and explained the purpose Bot Services serves today in the flow. In the second post I walked through the GUI experience, the workflow occurring under the hood, and why the GUI experiencing publishing flow won’t work for most customers. For this third post we’re gonna jump down into the weeds and dissect the programmatic approach using raw calls to the Azure REST API.
Let’s get to it!
What used to be required?
Back when I published this initial series way back in the olden days of May 2026, publishing a Foundry agent to Microsoft Teams when the Foundry account was locked down was quite complex. My very smart peer Graeme Foster put together a stellar blog post on the topic. I’m not going to go into deep detail on the old flow because you can grab those details from Graeme’s original post. Instead, we’re going to hit the key challenges of the old method.
As I discussed in my last post, most large enterprises have requirements around controlling and governing inbound traffic to their Azure resources. For resources deployed to Microsoft Foundry, like an model deployment or an agent, that control is exercised through the service firewall native to most all Microsoft PaaS services. The typical configuring is to disable inbound public network access and restrict access through a Private Endpoint. Restricting to a Private Endpoints means the traffic needs to be routed through the customer’s virtual network. With Microsoft Teams traffic, this is not possible today and that traffic can only reach an endpoint with a public IP.

We got a problem here right? Teams cannot reach the Private Endpoint in the customer virtual network. The solution around this problem has historically been to funnel that traffic in through a firewall, reverse proxy like Application Gateway, or a publicly exposed API Gateway like API Management by modifying the activity endpoint on the Bot Service resource. Which ingress solution you picked depended on your risk tolerance. It’s unlikely your security team is willing to allow all IP addresses through the firewall or reverse proxy, so you’d probably filter with a firewall rule or WAF (web application firewall) rule. Teams is a multi-tenant service, so you may want to evaluate the headers in the incoming request to check if the incoming header matches your Entra ID tenant ID. While those controls are nice, the real thing you very much want to do is validate the JWT (JSON web token) being passed in the request is from a Bot Service in your Entra ID tenant. Like I mentioned in my last post, Bot Service uses its own STS which uses a common signing certificate for the service holistically (from what I’ve seen) so validating the claims within the JWT is a must as Graeme covers in his post.
Below is an example of an authorization header generated by Bot Services and the x-ms-tenant-id header that would be validated by the customer in the old method.
[ { "TraceRecords": { "Authorization": { "header": { "alg": "RS256", "kid": "PNDitLKaGJW-60l42Kz7-4RqwWM", "x5t": "PNDitLKaGJW-60l42Kz7-4RqwWM", "typ": "JWT" }, "payload": { "serviceurl": "https://smba.trafficmanager.net/amer/6c80de31-d5e4-4029-93e4-XXXXXXXXXXX/", "nbf": 1788568132, "exp": 1788571732, "iss": "https://api.botframework.com", "aud": "be377583-32aa-4263-b657-7ec426f9f6fc" } }, "X-Forwarded-For": "52.112.116.181:46080;10.0.8.4", "x-ms-tenant-id": "6c80de31-d5e4-4029-93e4-XXXXXXXXXXXX", }]
This inevitably led to some variant of the complex architecture seen below for most complex and regulated enterprises. It was a lot of complexity, extra infrastructure, potential bottlenecks, and extra latency. Nothing good.
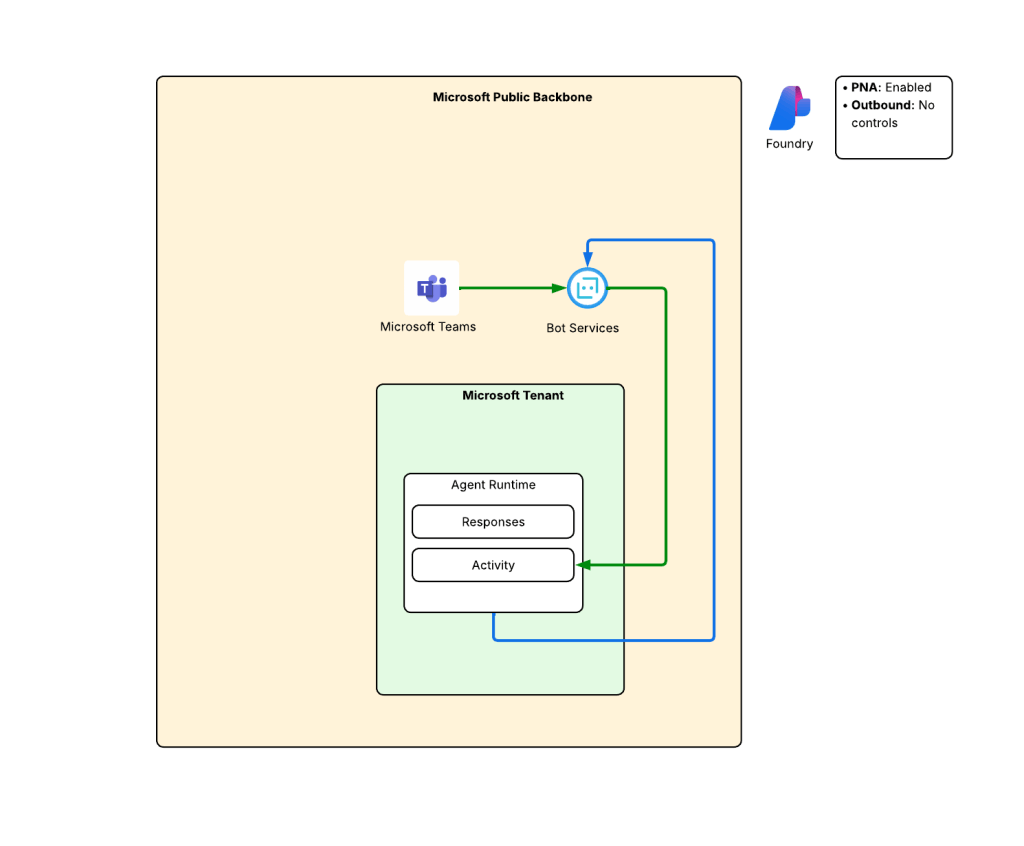
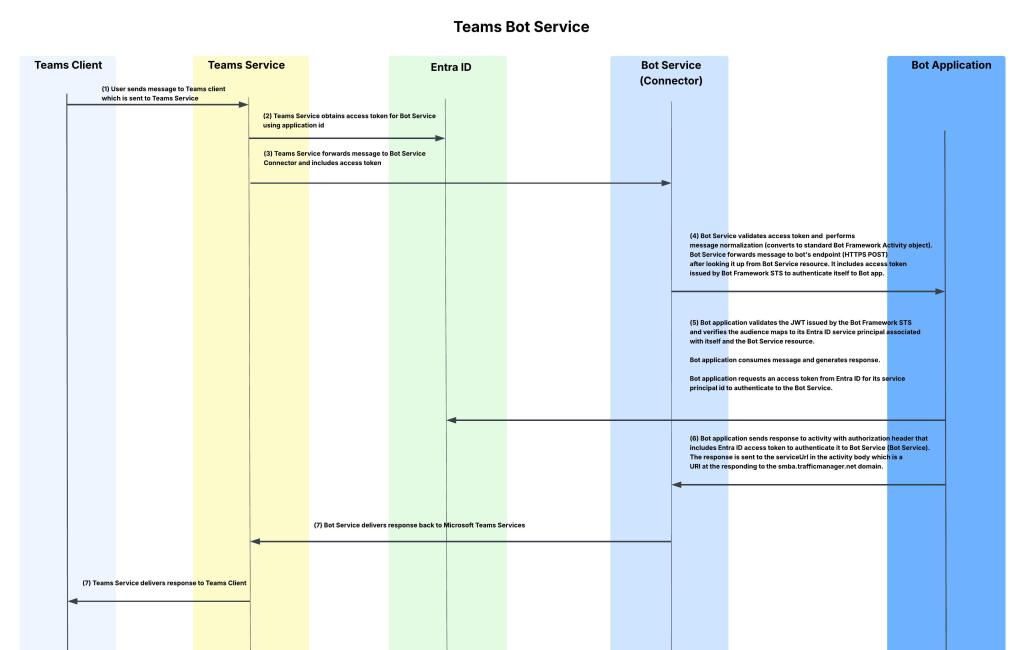
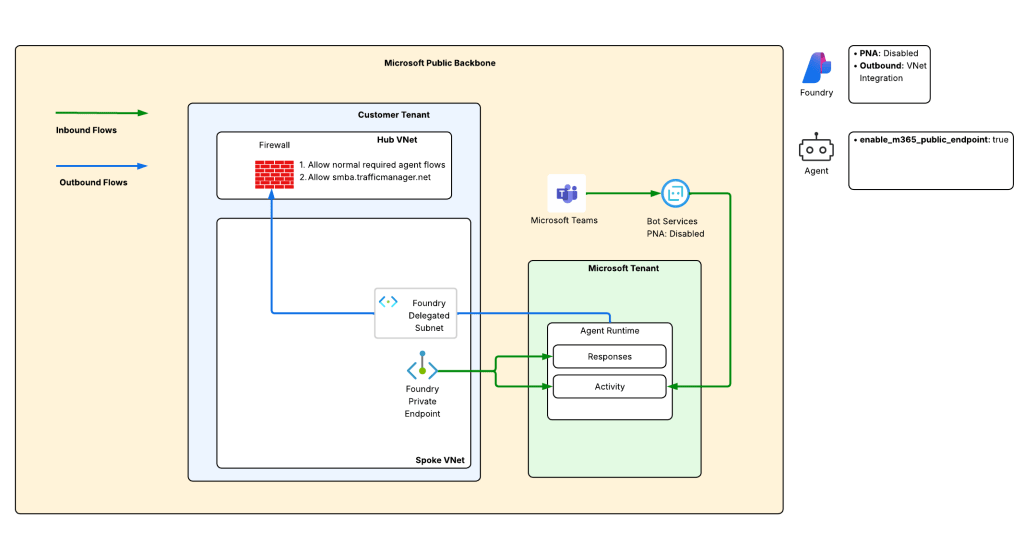
In addition to this inbound flow, you also needed to account for the outbound flow from the agent back to the Bot Service. As I described in my first post in this series, the reply message to the user is a separate TCP call initiated by the agent to the Bot Services. That outbound flow required you had had a firewall rule allowing traffic to smba.trafficmanager.net. This flow is still required.

Thankfully, the Product Group felt for us poor central IT folks and have now made this whole flow drastically easier.
What is required now?
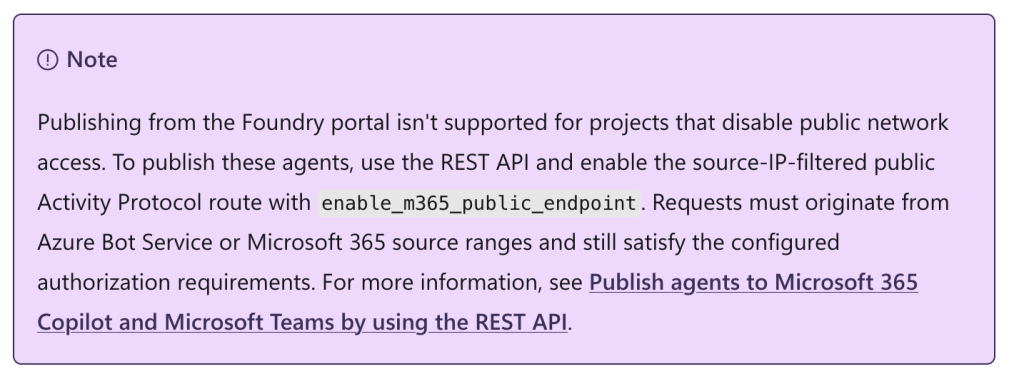
Gone is the overly complex inbound flow. The public documentation gives some good detail on exactly what has changed. In my simple brain terms, Microsoft has created an alternative path to the activity endpoint (other Foundry and agent endpoints are not available through this path) of the Foundry agent that Microsoft Teams can route to. Instead of the customer having to do IP filtering, Microsoft performs it. Instead of the customer having to crack open the JWT issued by the Bot Service, Microsoft does it. This new configuration shifts responsibility for this security controls from the customer to Microsoft. Not too shabby right?
This is accomplished through a new property of the agent called enable_m365_public_endpoint which must be set to true.
Alright, so you’re celebrating a less painful flow now. Let’s bounce over to how we’d enable this programmatically.
Programmatically publishing an agent
The Product Group has done a great job creating a detailed write-up of the necessary Azure ARM REST API calls required to publish an agent programmatically. I’ll be walking through this using a Jupyter Notebook and some simple Python.
Before we can begin publishing we need to deploy an instance of Microsoft Foundry where inbound public network access is restricted and outbound traffic of the agent is controlled (using either VNet integration or managed VNet). The product group has published samples for both these scenarios in this the official samples repository. If you want to make your eyes bleed reading awful Terraform code, I have some samples in my personal repo. You’ll then need to deploy a prompt or hosted agent to Microsoft Foundry. The public documentation has a ton of examples of this, so I’m going to assume you’re successful in making that happen.
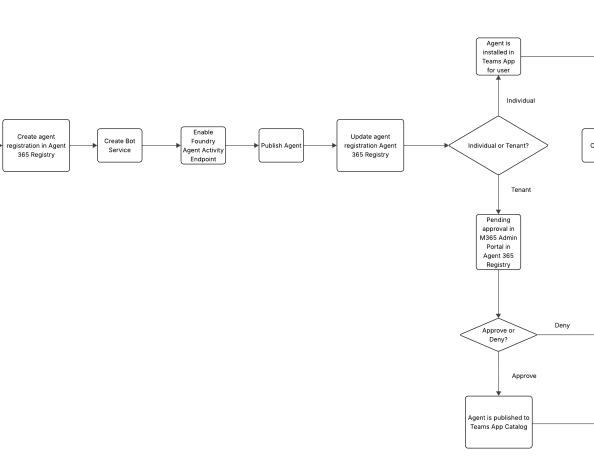
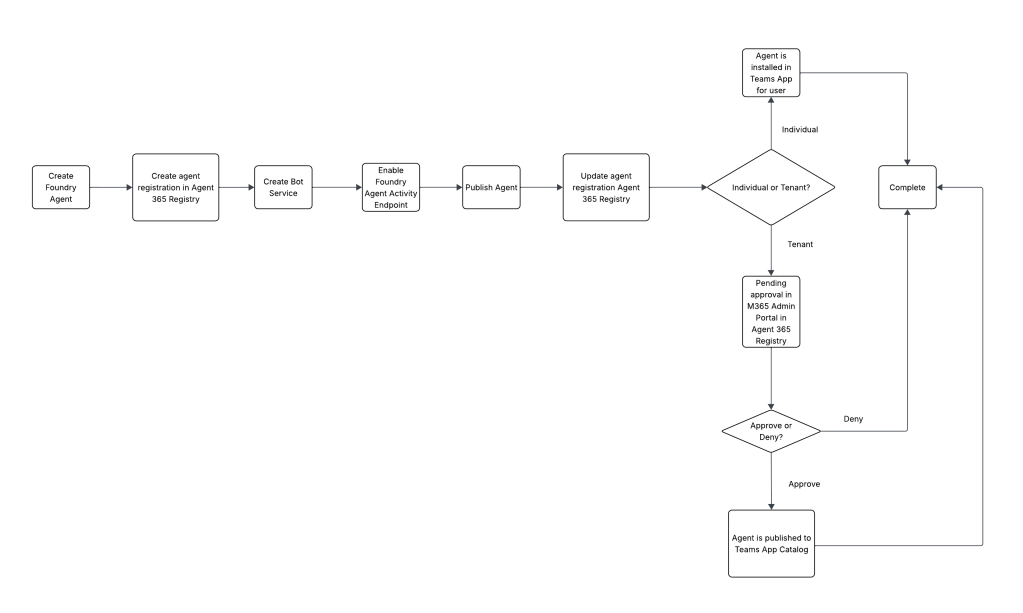
Once you have the environment setup up and agent deployed you can begin the publishing process. As a reminder, here is the general workflow to publish as it stands today.

The first step in the publishing process (at least for today, this is likely going away in the future) you need to create a Bot Service. As discussed in my first post, the Bot Service will service as the intermediary between Microsoft Teams and the activity endpoint in the agent. Before we can create the Bot Service we need to get the agent’s Entra ID Agent Identity Blueprint’s principal id. We can do this like seen below:
import osimport jsonimport requestsfrom dotenv import load_dotenv# Load environmental variablesload_dotenv(override=True)# Function that gets the agent objectdef get_foundry_agent(account_name: str, project_name: str, agent_name: str, token: str): """This function retrieves a Foundry agent by name from a Foundry project Args: account_name (str): The name of the Foundry account project_name (str): The name of the Foundry project agent_name (str): The name of the Foundry agent to retrieve token (str): The authentication token to use for the API request Returns: dict: The Foundry agent details if found, otherwise None """ response = requests.get( f"https://{account_name}.services.ai.azure.com/api/projects/{project_name}/agents/{agent_name}?api-version=v1", headers={ "Content-Type": "application/json", "Authorization": f"Bearer {token}" } ) if response.status_code == 200: return response.json() else: logging.error(f"Failed to retrieve agent: {response.status_code} - {response.text}") return None# Grab the principal_id of the Entra ID Agent Identity associated with the Foundry Agent foundry_account_name = os.getenv("FOUNDRY_ACCOUNT_NAME")project_name = os.getenv("FOUNDRY_PROJECT_NAME")agent_name = "hosted-azure-expert-agent"agent = get_foundry_agent(foundry_account_name, project_name, agent_name, user_token.token)agent_principal_id = agent.get("instance_identity", {}).get("principal_id")print(f"Foundry Agent Principal ID: {agent_principal_id}")print(json.dumps(agent, indent=2))
In addition to the principal id of the blueprint, we’ll need the Entra ID tenant ID, and the activity endpoint. The activity endpoint will look something like: https://FOUNDRY_ACCOUNT_NAME.services.ai.azure.com/api/projects/PROJECT_NAME/agents/AGENT_NAME/endpoint/protocols/activityProtocol?api-version=2025-05-15-preview. Once you have those inputs you can create the Bot Service resource. I have a Terraform sample of how to structure the resource located in this repository.
Once the Bot Service resource is created you’re ready for the next step which is going to be enabling the activity endpoint on the agent, setting the authorization scheme for the activity endpoint (which in this case I set to BotServiceTenant since I’ll be publishing for my whole organization), and I set the magical property of enable_m365_public_endpoint to true.
import osimport jsonimport requestsfrom dotenv import load_dotenv# Load environmental variablesload_dotenv(override=True)# Function that enables the activity protocol for the agent and configures the required Bot Service authorization schemedef enable_agent_activity_protocol(account_name: str, project_name: str, agent_name: str, token: str): """This function enables the activity protocol for a Foundry agent and configures the required Bot Service authorization scheme Args: account_name (str): The name of the Foundry account project_name (str): The name of the Foundry project agent_name (str): The name of the Foundry agent to retrieve token (str): The authentication token to use for the API request Returns: dict: The updated Foundry agent details if the update was successful, otherwise None """ # body = { "agent_endpoint": { "protocol_configuration": { "responses": {}, "activity": { "enable_m365_public_endpoint": True } }, "authorization_schemes": [ { # Entra authentication for responses endpoint "type": "Entra", }, { # Allow all users in the Entra ID tenant to call the agent via Teams "type": "BotServiceTenant" } ] } } response = requests.patch( f"https://{account_name}.services.ai.azure.com/api/projects/{project_name}/agents/{agent_name}", params={"api-version": "2025-11-15-preview"}, headers={ "Content-Type": "application/merge-patch+json", "Authorization": f"Bearer {token}" }, json=body ) if response.status_code == 200: return response.json() else: logging.error(f"Failed to enable agent activity protocol: {response.status_code} - {response.text}") return None# Grab the principal_id of the Entra ID Agent Identity associated with the Foundry Agent foundry_account_name = os.getenv("FOUNDRY_ACCOUNT_NAME")project_name = os.getenv("FOUNDRY_PROJECT_NAME")agent_name = "hosted-azure-expert-agent"enabled_agent = enable_agent_activity_protocol(foundry_account_name, project_name, agent_name, user_token.token)enabled_agent_guid = enabled_agent.get('versions', {}).get("latest", {}).get("agent_guid", {})print(f"Enabled Agent GUID: {enabled_agent_guid}")updated_agent_endpoint = enabled_agent.get('agent_endpoint', {})print(f"Updated Agent Endpoint: {json.dumps(updated_agent_endpoint, indent=2)}")
Next, I’m ready to publish the agent to Teams. For this I’m going to use the /microsoft365/publish endpoint of my agent resource in the Foundry API. Just like in the last post, I want to populate some information for the Agent 365 Agent Registry entry and the Team Store application.
import osimport jsonimport requestsfrom dotenv import load_dotenv# Load environmental variablesload_dotenv(override=True)def publish_agent_teams( # Foundry stuff agent_name: str, project_name: str, account_name: str, # Bot Service stuff bot_resource_id: str, # Teams stuff agent_display_name: str, app_version: str, publish_scope: str, publish_as_autopilot: bool, short_description: str, full_description: str, developer_name: str, developer_website_url: str, privacy_url: str, terms_of_use_url: str, token: str ): """This function uses the Foundry API to publish a Foundry agent to Microsoft Teams Args: agent_name (str): The name of the Foundry agent to publish project_name (str): The name of the Foundry project account_name (str): The name of the Foundry account bot_resource_id (str): The resource ID of the Bot registered in Entra ID for this agent agent_display_name (str): The display name of the agent to show in Teams app_version (str): The version of the Teams app to publish publish_scope (str): The scope to publish the Teams app to, either "Shared" (available to you) or "Tenant (admin must approve)" publish_as_autopilot (bool): Whether to publish the agent as an Autopilot in Teams short_description (str): A short description of the agent to display in Teams full_description (str): A full description of the agent to display in Teams developer_name (str): The name of the developer or organization that created the agent, to display in Teams developer_website_url (str): The URL for the developer's website, to display in Teams privacy_url (str): The URL for the privacy policy for this agent, to display in Teams terms_of_use_url (str): The URL for the terms of use for this agent, to display in Teams token (str): The Entra ID access token with the scope of https://ai.azure.com/.default to authenticate the API request Returns: dict: The response from the Foundry API if the publish was successful, otherwise None """ body = { "agentDisplayName": agent_display_name, "botServiceArmId": bot_resource_id, "publishScope": publish_scope, "publishAsAutopilot": publish_as_autopilot, "appVersion": app_version, "developerName": developer_name, "developerWebsiteUrl": developer_website_url, "fullDescription": full_description, "privacyUrl": privacy_url, "shortDescription": short_description, "termsOfUseUrl": terms_of_use_url } response = requests.post( url = f"https://{account_name}.services.ai.azure.com/api/projects/{project_name}/agents/{agent_name}/microsoft365/publish", params = { "api-version": "2025-11-15-preview" }, headers={ "Content-Type": "application/json", "Accept": "application/json", "Authorization": f"Bearer {token}", }, json=body ) if response.status_code == 200: print("Agent published successfully! Status code: 200") else: logging.error(f"Failed to publish agent: {response.status_code} - {response.text}") return NoneAGENT_DISPLAY_NAME = "FHA - Azure Expert - Teams"APP_VERSION = "1.0.1"PUBLISH_SCOPE = "Tenant"PUBLISH_AS_AUTOPILOT = FalseSHORT_DESCRIPTION = "FHA - Azure Expert"FULL_DESCRIPTION = "FHA - Azure Expert published to Teams from Microsoft Foundry"DEVELOPER_NAME = "Carl Carlson"DEVELOPER_WEBSITE_URL = "https://www.example.com"PRIVACY_URL = "https://www.example.com/privacy"TERMS_OF_USE_URL = "https://www.example.com/terms"publish_response = publish_agent_teams( # Foundry stuff agent_name = os.getenv("FOUNDRY_AGENT_NAME"), project_name = os.getenv("FOUNDRY_PROJECT_NAME"), account_name = os.getenv("FOUNDRY_ACCOUNT_NAME"), # Bot Service stuff bot_resource_id = os.getenv("BOT_RESOURCE_ID"), # Teams stuff agent_display_name = AGENT_DISPLAY_NAME, app_version = APP_VERSION, publish_scope = PUBLISH_SCOPE, publish_as_autopilot = PUBLISH_AS_AUTOPILOT, short_description = SHORT_DESCRIPTION, full_description = FULL_DESCRIPTION, developer_name = DEVELOPER_NAME, developer_website_url = DEVELOPER_WEBSITE_URL, privacy_url = PRIVACY_URL, terms_of_use_url = TERMS_OF_USE_URL, token = user_token.token)
Once publishing is complete, I’ll then need to approve it using the Microsoft 365 Admin Portal as seen in the last post. Poking through the Microsoft Graph APIs, I couldn’t find a specific API endpoint for the Agent Registry to programmatically approve and push it to the organization’s Teams store. The APIs for Agent 365 in general are not great right now. Vasil Michev did a great blog post on the topic. Unfortunately, the state of the APIs are much better months after his post. You can poke around the Agent Registry API which is really badly named the Copilot Package Management API if you want to poke around programmatically. If you can get the https://graph.microsoft.com/beta/copilot/agentRegistrations/{agent_registration_id} endpoint working without it throwing an unauthorized response, please drop a post in the comment and tell me how you did it. You will be my hero.
I’ve put a sample notebook here if you want to muck around with the programmatic publishing process.
Summing it up
So yeah, this new publishing process is just a TAD less painful for us poor central IT folks. It will likely get even easier in the very near future so keep an eye out on the public documentation for updates. Maybe that pesky Bot Service resource gets removed? 😉
So key takeaways:
- For most organizations you’ll need to do the programmatic publishing process because it’s unlikely you’re cool with public inbound network access.
- The new publishing process removing the complex architecture that used to be required to make this work.
- Use the new enable_m365_public_endpoint property when you publish if you value your sanity.
- Keep an eye on the Agent 365 API documentation. If the APIs are documented somewhere that I don’t know about, educate me. You’ll be my best buddy!
- Keep a close eye on the public documentation for upcoming changes that will further simplify this process.